False colors on astronomy photos
Introduction
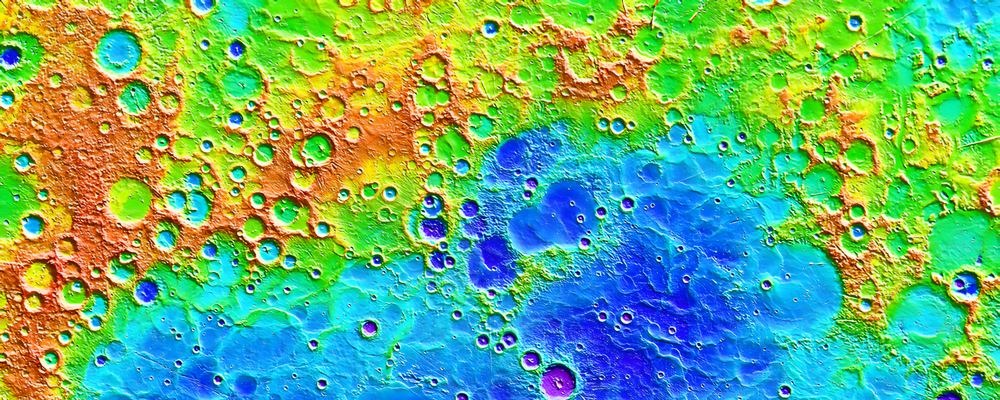
If the use of false colors in astronomy photos can be easily spotted, as in the image used as the cover of this article, this information is often unknown to the general public, as well as the reasons why false colors are used. I will try to explain this in this article.
Examples
Mercury
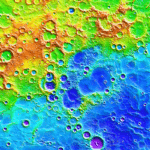
Let’s start by taking the photo on the cover of this article as an example: it shows the surface of Mercury photographed by the MESSENGER spacecraft. As you may have guessed, it’s not temperature that is being represented here, but the topography of Mercury. The violet areas are the lowest and the red areas are the highest.

This is a very obvious use case for false colors in this kind of photography, but there are others. Indeed, photographs of distant objects such as nebulae, galaxies or stars can be photographed with a filter or special equipment to highlight the composition or certain types of emissions of these objects.
When it comes to photos of a star, it is also with the objective of highlighting structures or details that would be difficult to distinguish in true colors or shades of gray. It is also possible to highlight their composition or temperature.
The Sun
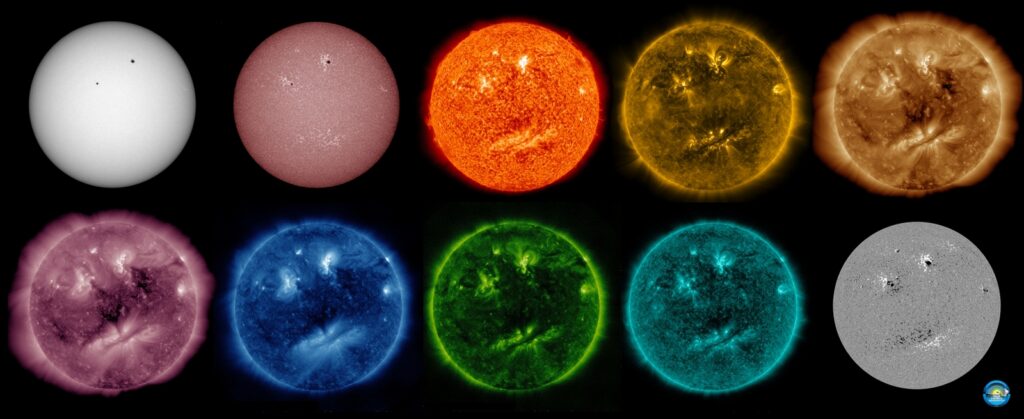
Another interesting example with the image above: here you see the sun taken with 10 different wavelengths going from the lowest to the highest temperature, that is to say that the first image shows the surface of the Sun and that we move progressively towards the upper corona. These colors, which represent the wavelengths that are emitted by different elements of the sun at different temperatures, allow scientists to observe different things.
By the way, if you are wondering what color the sun is: it is white, simply because it emits an almost continuous spectrum of light that covers all visible colors. If we see it yellow, orange or reddish from the earth, it is because our atmosphere filters out certain wavelengths of light.
Mars
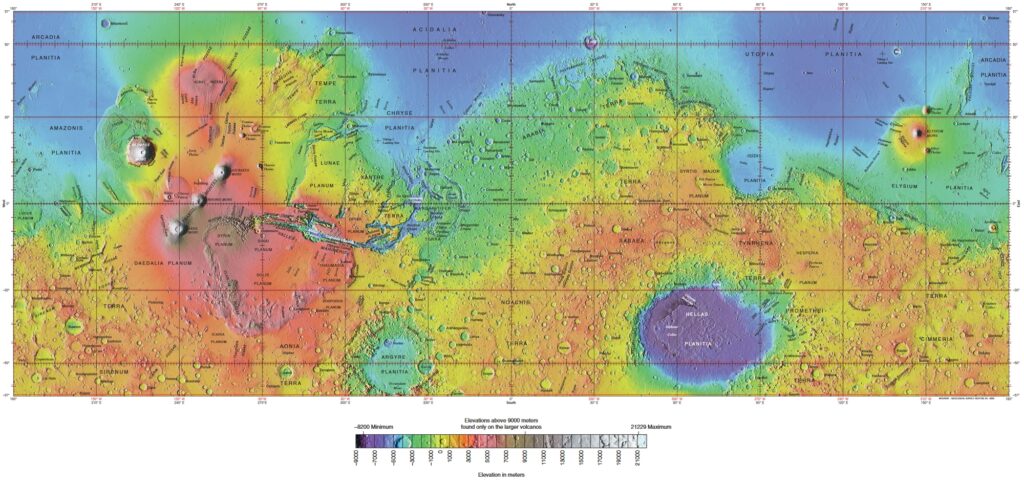
The use of false colors to highlight the topography – like Mercury above – allows to make very interesting maps for the study of the objects in question, below a map of the topography of Mars. One can clearly see Mount Olympus, for example, which stands out from the rest by its impressive height.
(To see a larger version of the image, click on it. To see a VERY large version of the image use the link “topography of Mars” in the caption)
I put you some examples below illustrating the surface of Mars photographed by the MRO (Mars Reconnaissance Orbiter) with on the left what is closer to the true colors and on the right a photo in false color.
It is also important to know that in astrophotography it is often a question of compositions of several images. In the case of the MRO, which is outside the Martian atmosphere, in order to really see something, its camera takes 3 shots with 3 different filters (red, blue and green) and are adjusted to form a single photo.
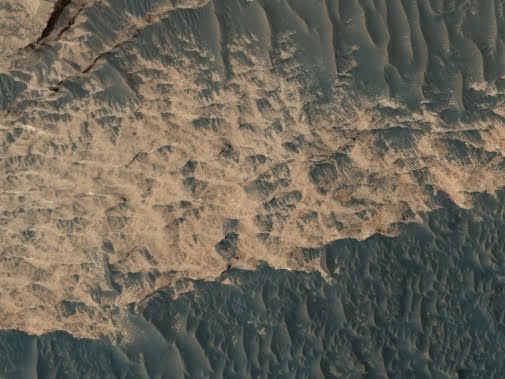
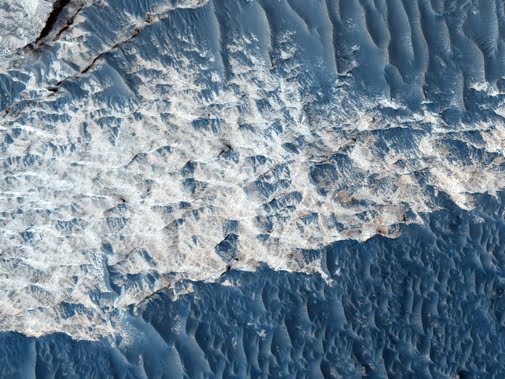
Credits : NASA / JPL-Caltech / UArizona

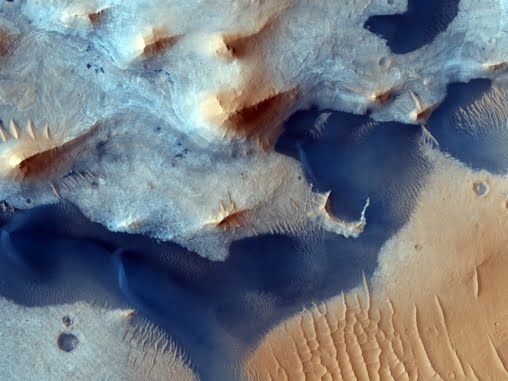
Credits : NASA / JPL-Caltech / UArizon
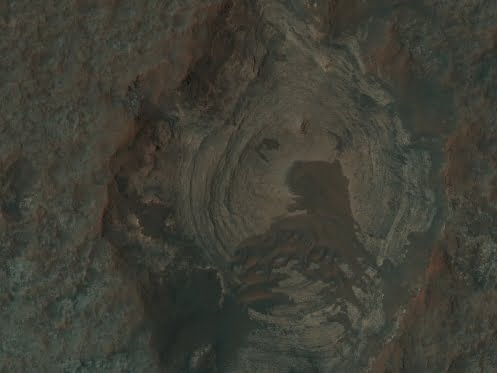
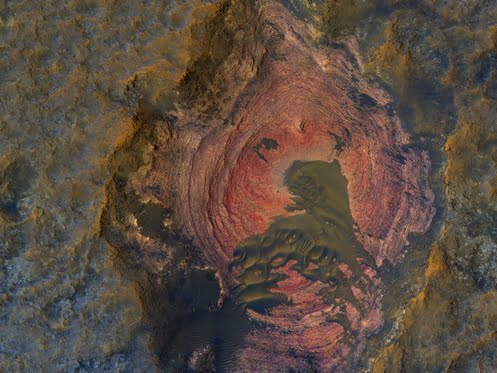
Credits : NASA / JPL-Caltech / UArizon
You can see that in false colors, the details are much more visible (and the photos much prettier, less dull…).
Let’s move on to the last example in this article.
Sombrero Galaxy
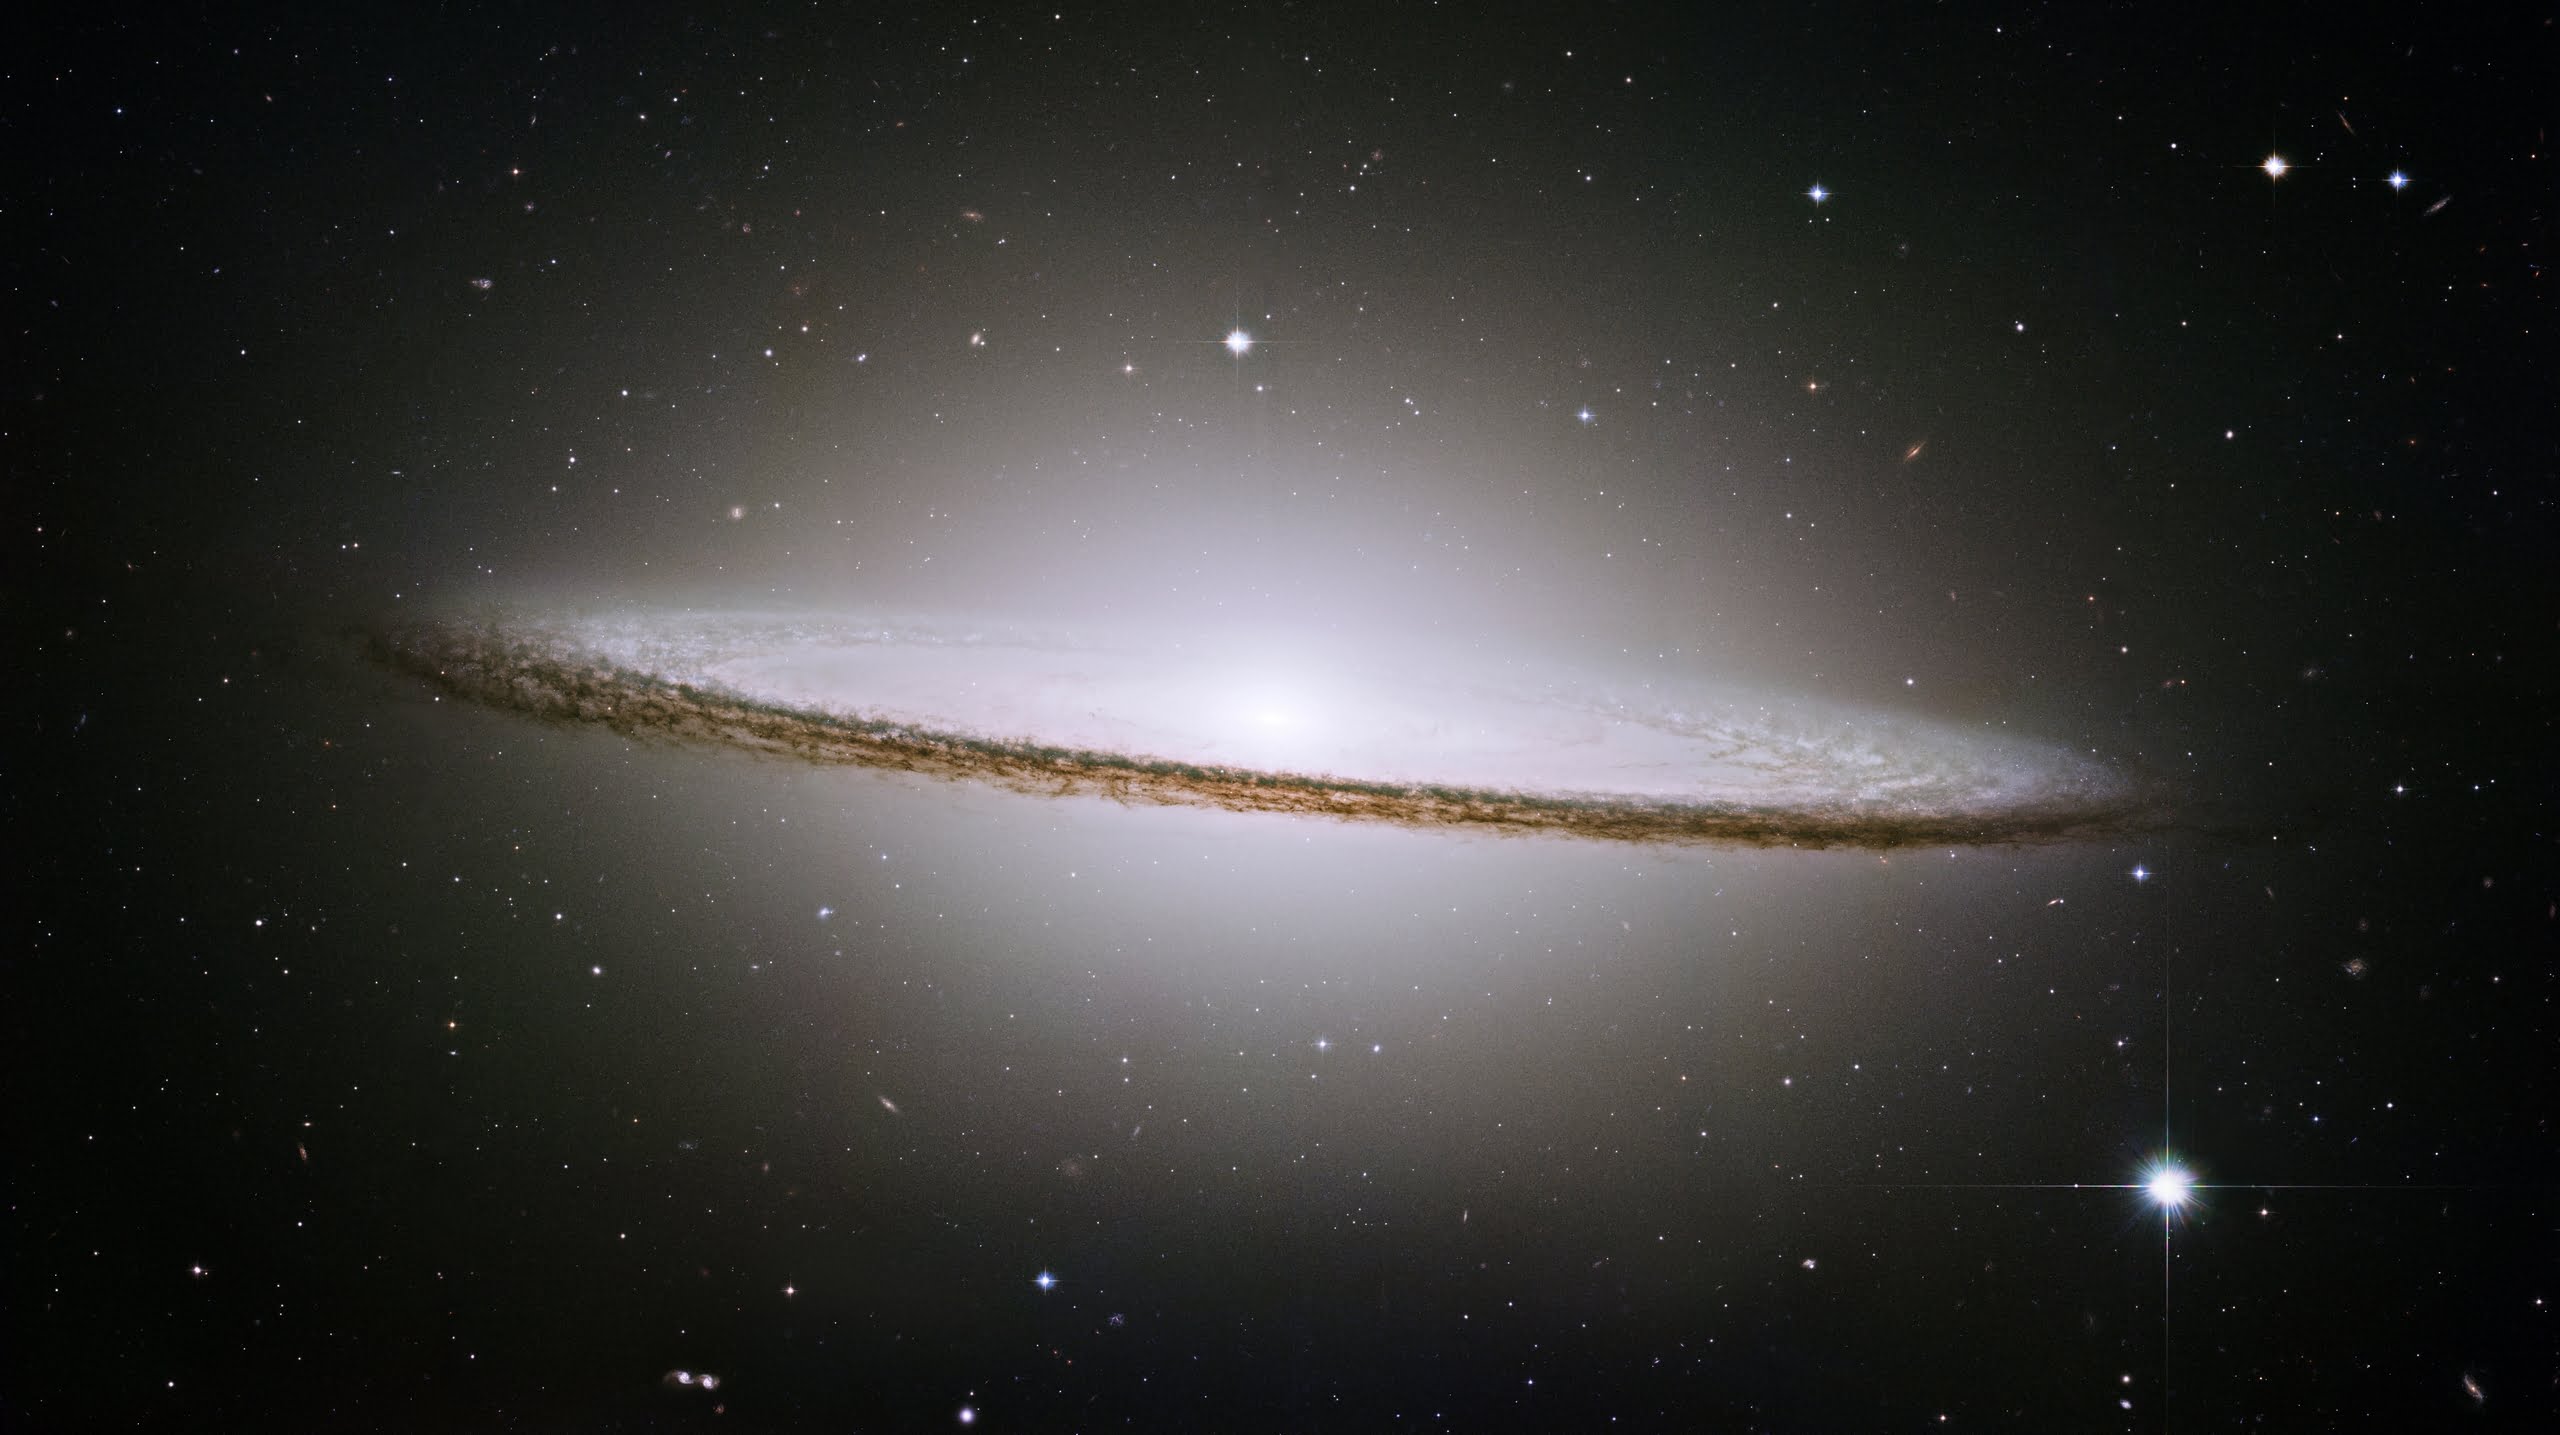
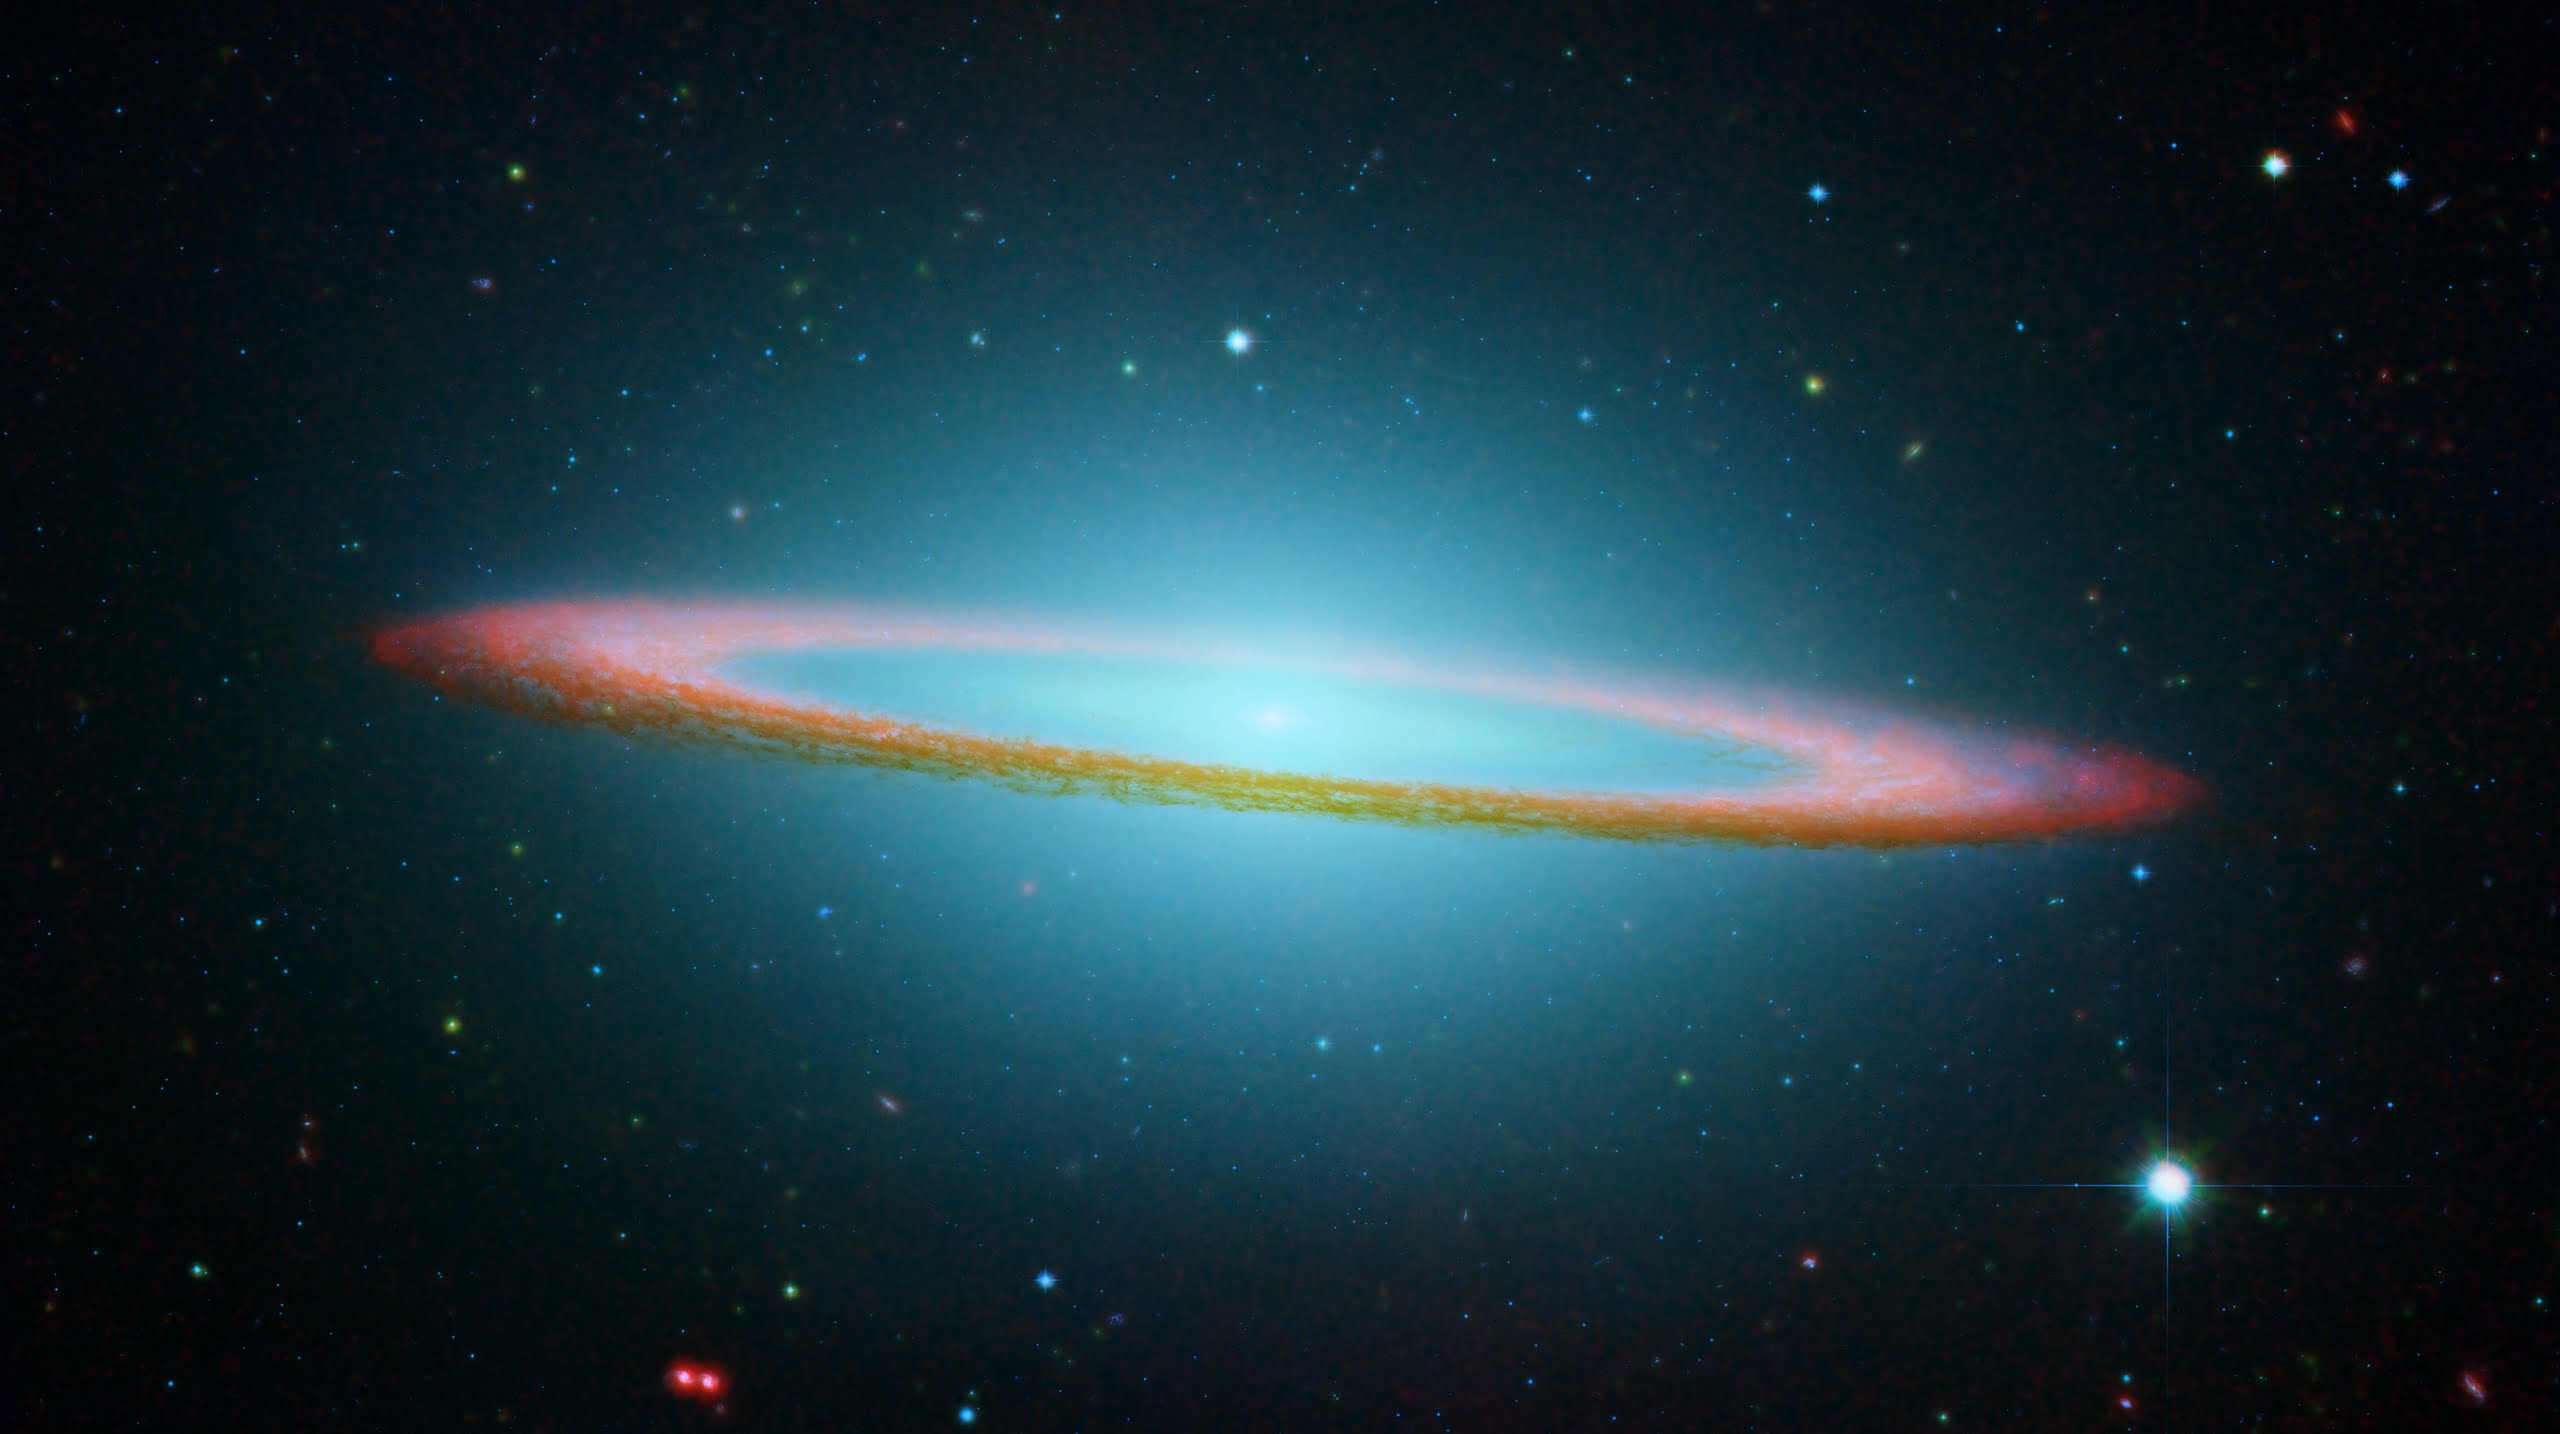
Credits : NASA / ESA / JPL-Caltech and The Hubble Heritage Team (STScI / AURA) – (image 1 | image 2)
The photograph above shows for example the Sombrero galaxy, located in the constellation Virgo, in colors of the visible spectrum (Blue, green and red) while the image on the right shows part of the visible spectrum (Blue and green) but also infrared. In this version with infrared, the blue is… blue, but the green is shown as cyan, some of the infrared as green and some as red. If this is not very clear, the table below explains the colors in this image:
| Band | Longueur d’onde | Telescope |
| Optical (B) | 435 nm | Hubble Space Telescope ACS |
| Optical (V) | 555 nm | Hubble Space Telescope ACS |
| Infrared (Near IR) | 3.6 μm | Spitzer Space Telescope IRAC |
| Infrared (Near IR) | 8.0 μm | Spitzer Space Telescope IRAC |
This representation thus makes it possible to highlight certain aspects of this galaxy which are not very visible otherwise and can bring important information to scientists.
Conclusion
Now you should be able to recognize a little better which photos are closer to the true colors and especially, why false colors are often used. I will conclude by summarizing their uses:
- Highlight details: False colors can reveal structures and details that would otherwise be difficult to distinguish in a grayscale or natural color image. By assigning specific colors to different wavelengths of light or chemical elements, scientists can better study the characteristics of celestial objects.
- Analyze the data: False-color images facilitate data analysis by allowing researchers to easily distinguish different regions of an image based on their composition or temperature. For example, false-color images of the surface of Mars can reveal the presence of frozen water or the diversity of minerals on the planet.
- Facilitate understanding: False color images also help make scientific data more accessible and understandable to the general public. The bright, contrasting colors capture attention and help explain complex phenomena in a visually appealing way.
- Enhance aesthetics: False color images can also be aesthetically pleasing, highlighting the beauty of celestial objects. False color photographs of nebulae, galaxies, and other astronomical objects are often used as illustrations in media, books, and exhibits for their impressive and artistic appearance.
Comments are closed.


